Journal #18: Redwood Roundup
by Miles Raymer
Since I started gardening, I’ve heard this adage more than a few times: “You’ll always want more growing space!” We are already producing so much food that we’ve begun hounding friends into taking home bags of greens and are also selling small amounts as well, but Ma and I are still committed to figuring out ways to increase our output. We’ve been wanting to sow some squash and pumpkin seeds, but needed additional planting space as all of our existing beds are already spoken for. So we decided to do something a little creative where there was, until recently, just a pile of topsoil.
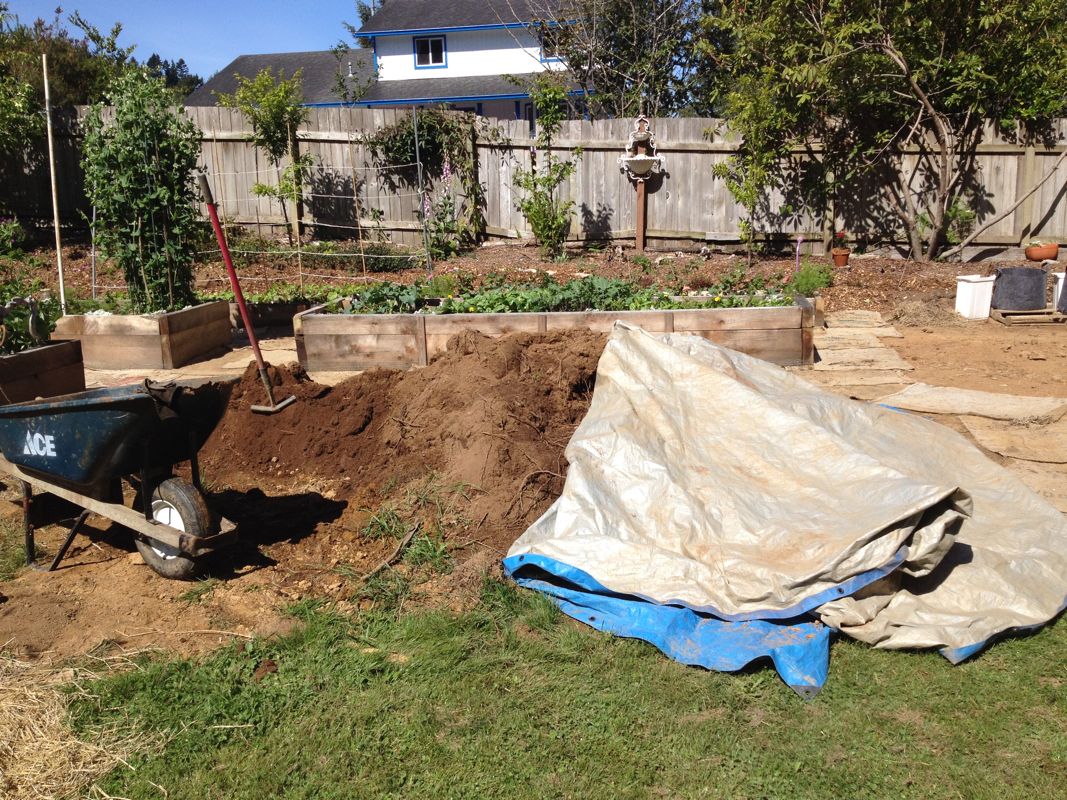
This topsoil was piled here when we leveled the lawn last year, and we used it to partially fill the new raised beds, but had quite a lot left over
This space is the first part of the garden one will encounter when going through the gate of our new (and currently nonexistent) garden fence, so Ma and I wanted to make something that would be functional as well as visually appealing. To turn this pile of dirt into a more attractive and useful garden feature, I first had to move it out of there so I could start fresh.
End of day one
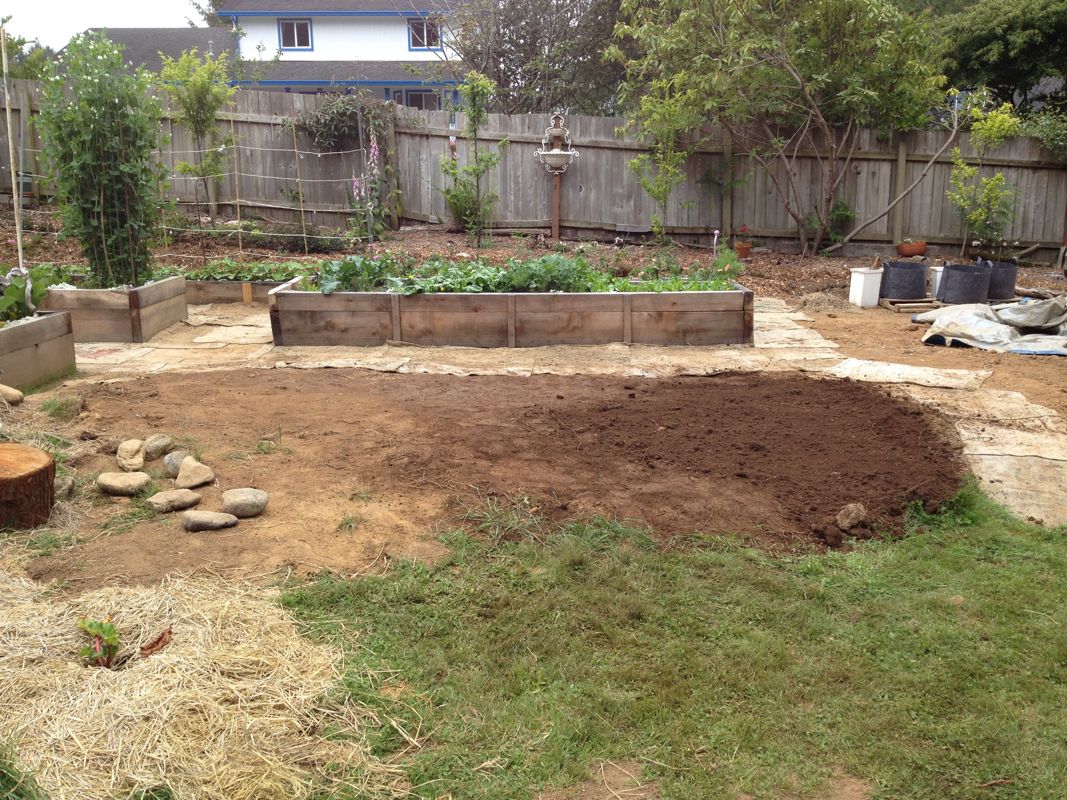
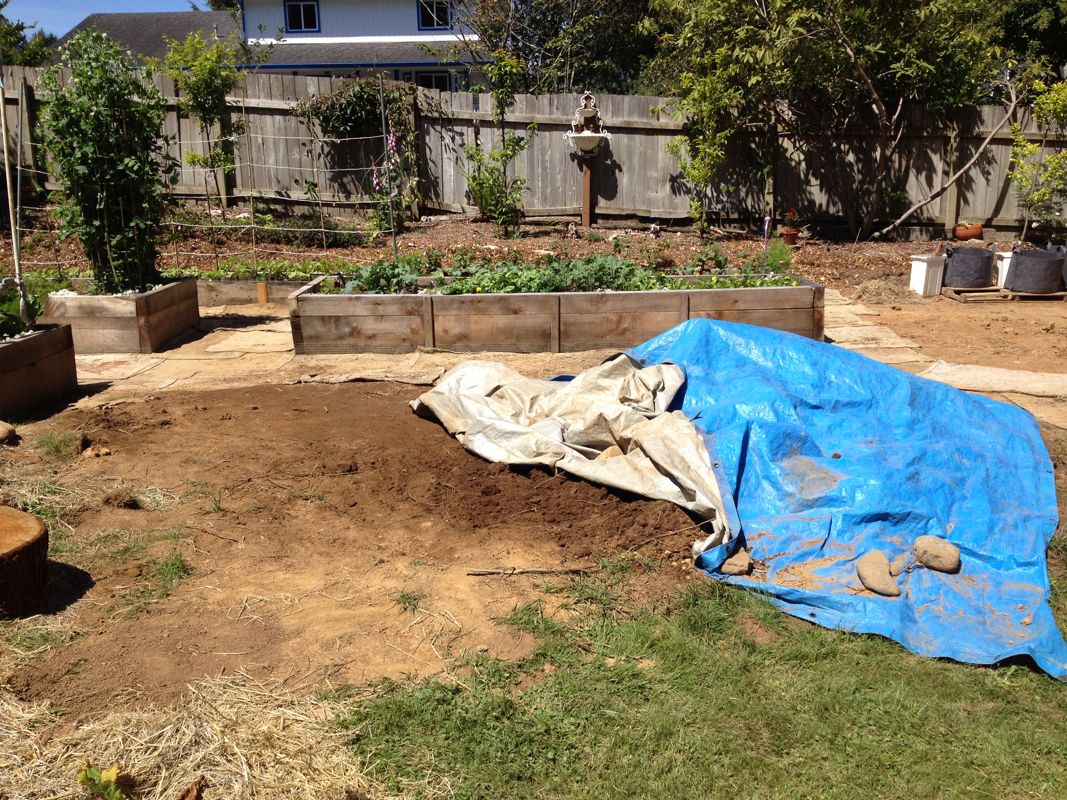
End of day two
One of the main reasons I had to move the dirt was that, during rainy season, we had puddling problems in the path behind it. Caught between the pile of topsoil and the adjacent bed, excess rainwater didn’t have anywhere to drain properly. Once I got the topsoil moved, however, I was able to locate the largest puddling point and dig a drainage trench with a berm on the downhill side.
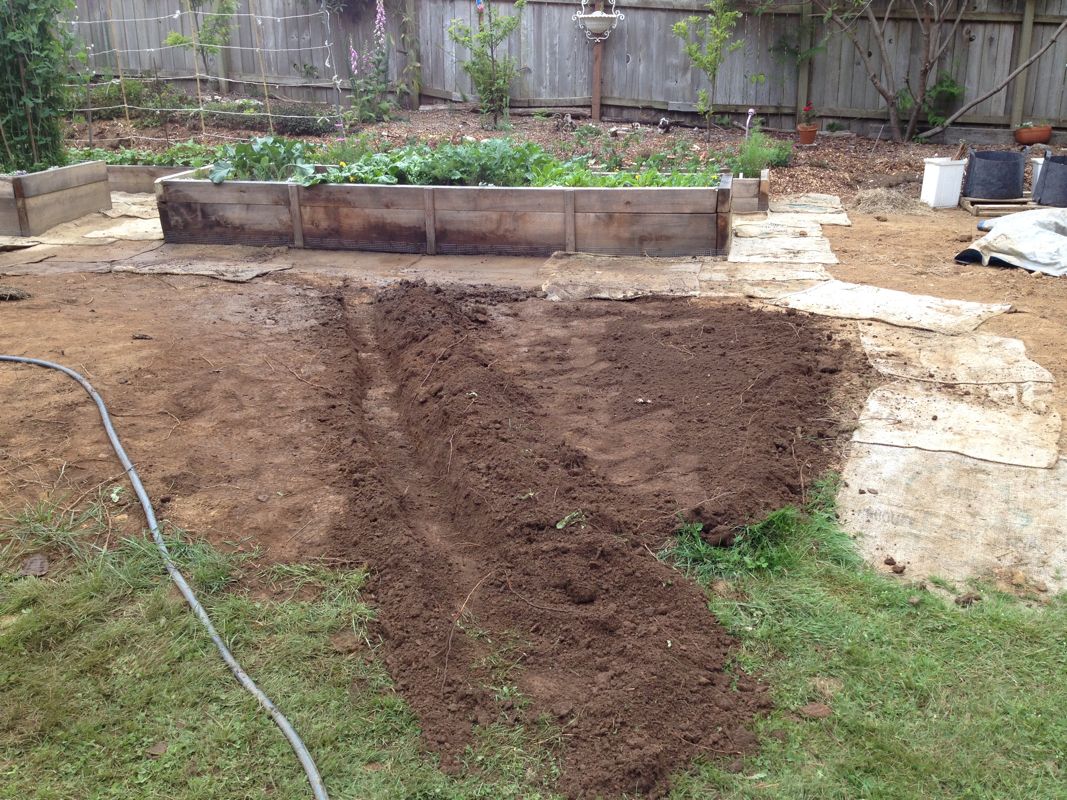
New trench and berm
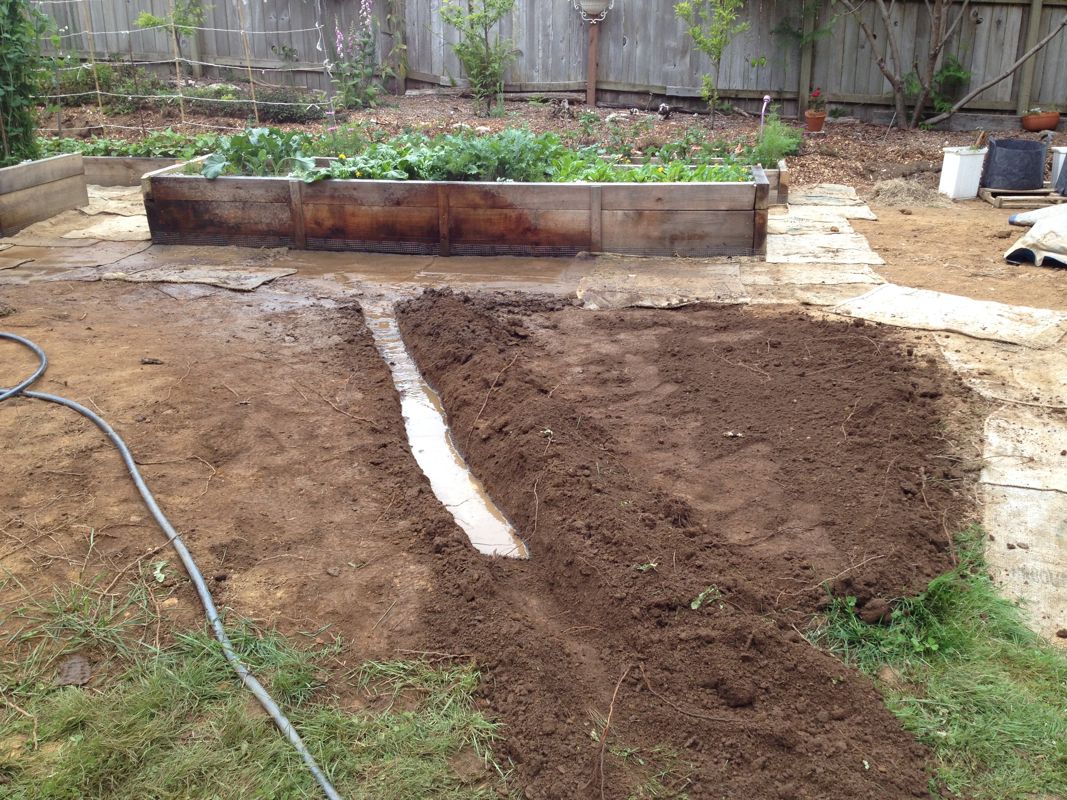
Since we haven’t been getting much rain, I used the hose to make sure the trench was working properly
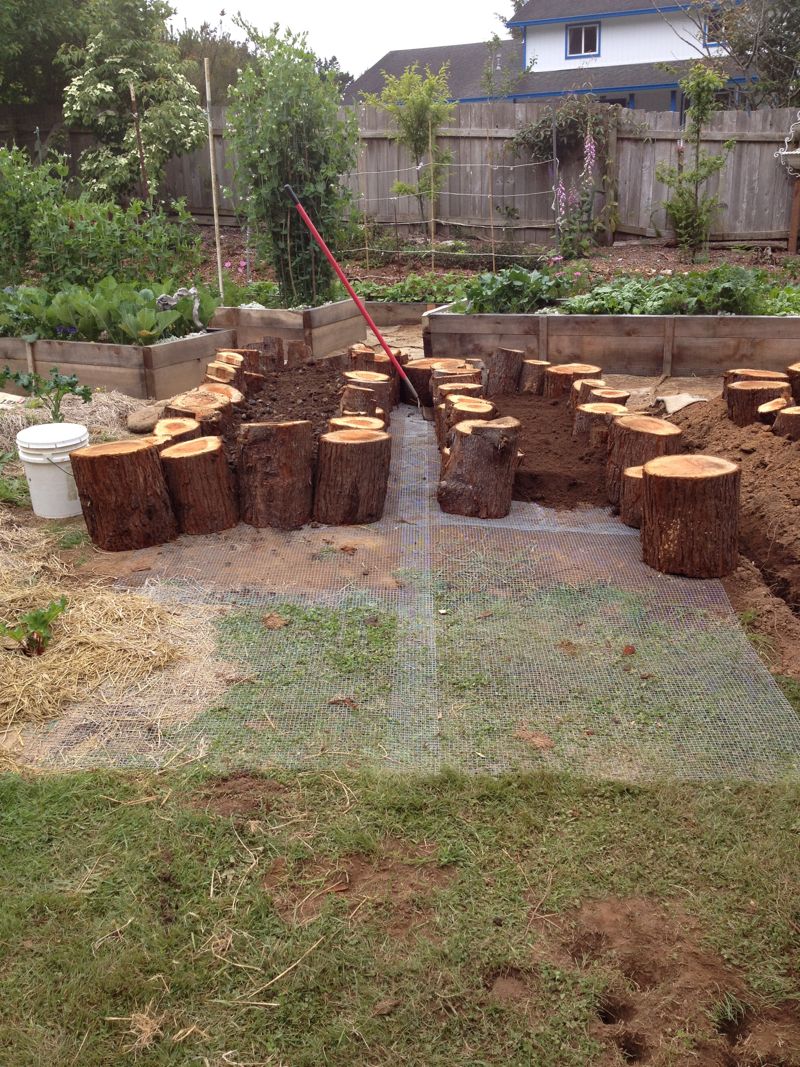
I ended up making the trench a few inches deeper than shown here, but this is basically how it turned out. If the trench overflows, it will do so onto the lawn in a way that doesn’t create puddles on the garden path. As you can see, I now had two spaces on either side suitable for planting. The next step was to lay down hardware cloth to keep gophers out. In doing this, I overlapped the sheets of wire about three inches and used metal anchor pins and flexible baling wire to make sure the sheets were fastened together so gophers won’t be able to squeeze between them.
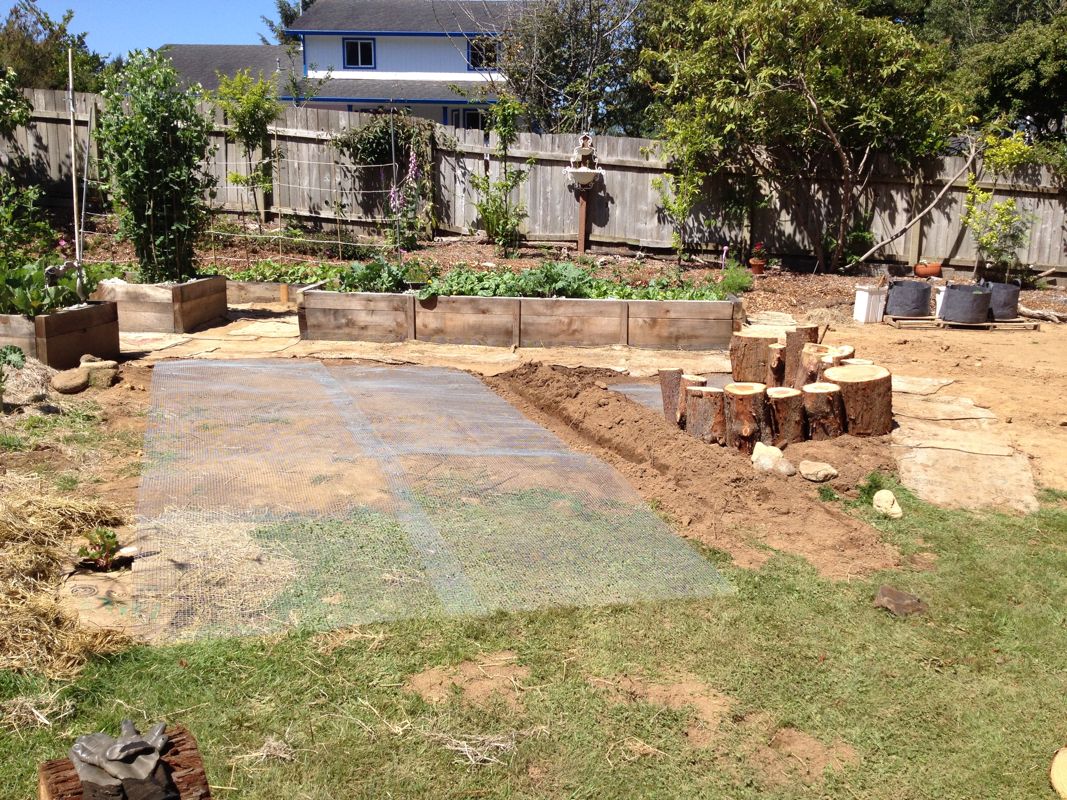
Gophers will eat pretty much anything, so it’s worth it to invest in some good hardware cloth
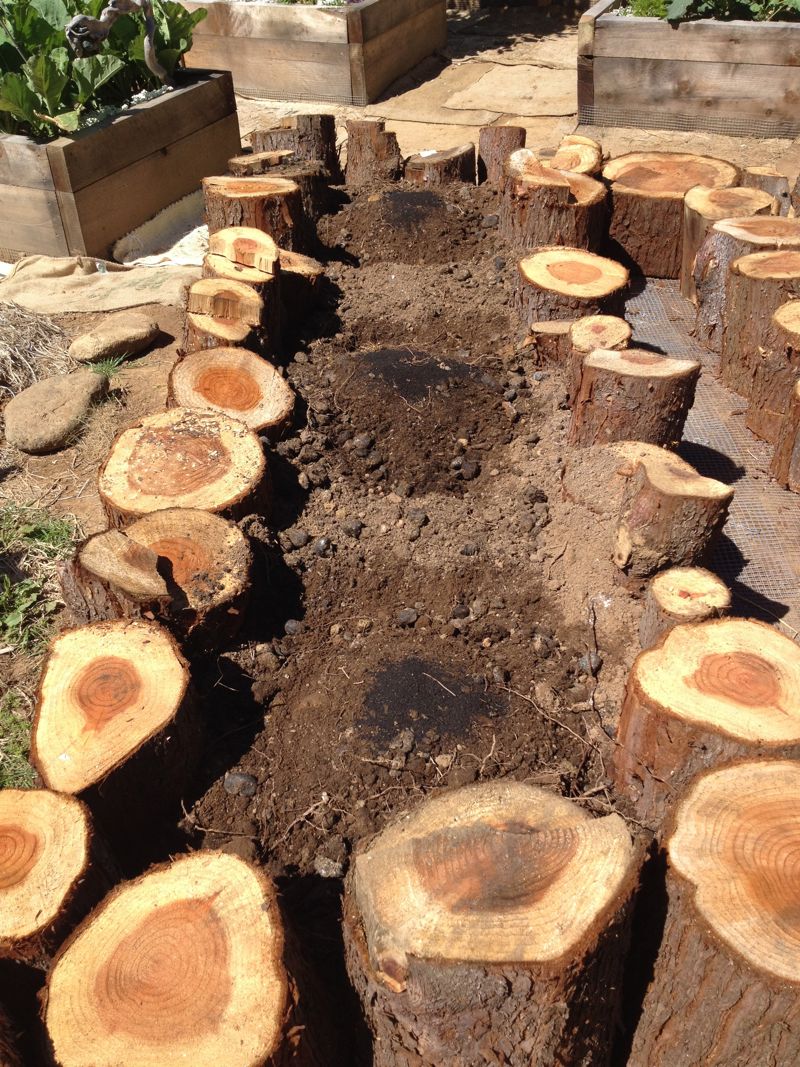
Ma and I recently had a few small redwoods taken down because they were in danger of falling on the house years hence. The men from the tree service company kindly chainsawed the trunks into rounds small enough for one person to move, leaving a huge pile of them in the middle of our lawn. We decided these rounds would make nice borders for our new beds. They aren’t nearly as stable and won’t last as long as the raised beds, but they were easier to put together and also look nice. After discussing several different possible shapes, we decided to put two narrow, parallel beds on the south side of the trench, and one rounded bed on the north side.
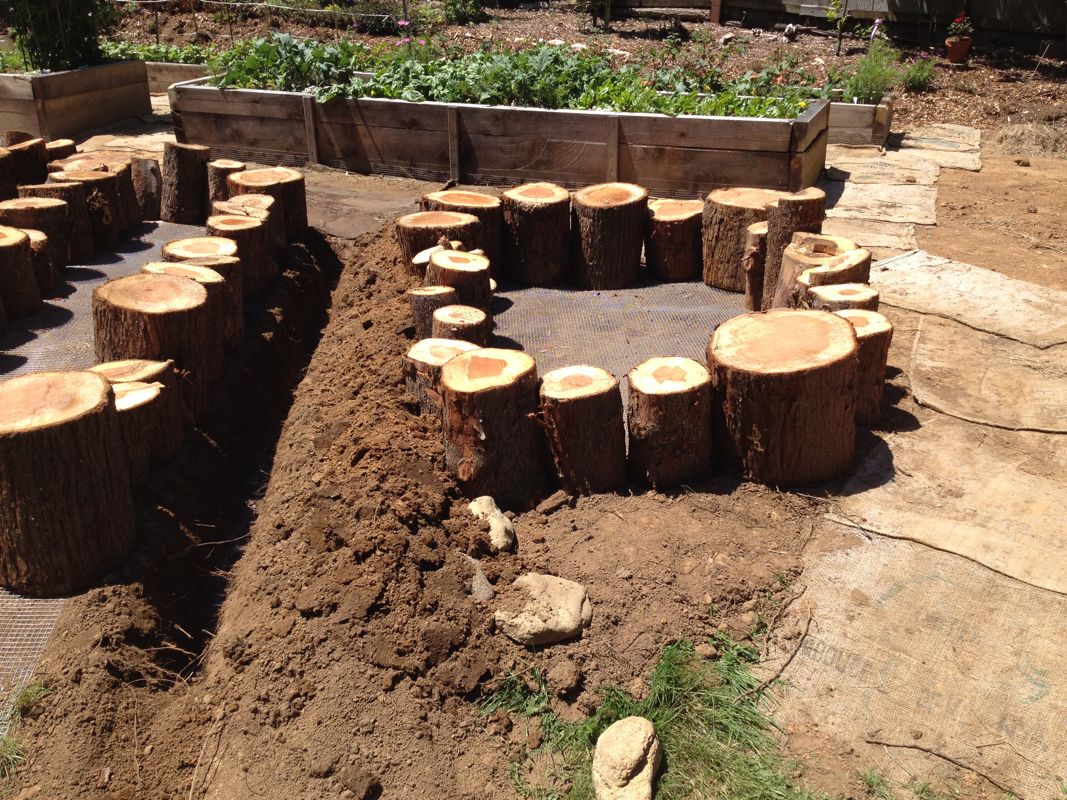
North bed
South beds, with a narrow footpath between
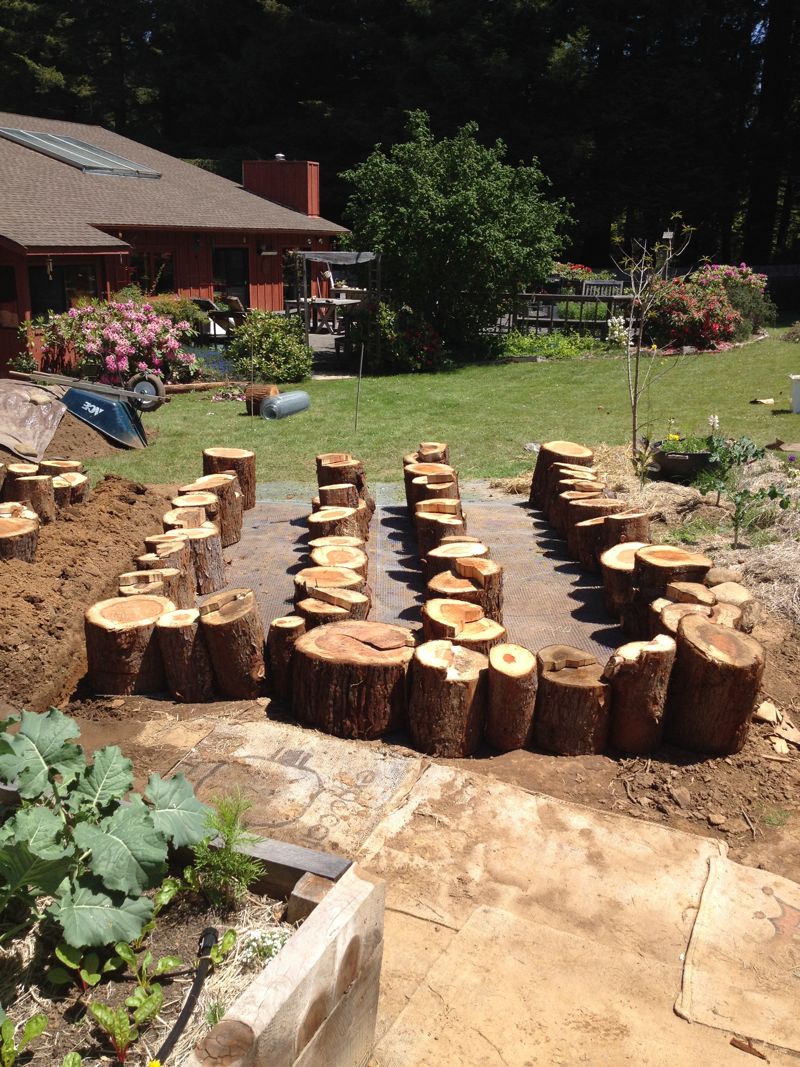
After getting all the rounds in place, I filled the beds with a combination of one half topsoil and one half horse manure.
After filling, I just had to put the last few rounds in place to close the bed off
We created these beds to grow squash and pumpkin, plants with which Ma has not had great luck in the past. Fortunately, Ma recently visited our friend Penelope, who is an accomplished organic gardener. Penelope showed her how she planted her squash, and Ma took pictures so I could copy the method. It involves using compost to create small mounds (1′-2′ diameter) in which 2-3 seeds are planted––not very complex, but we’re hoping it gives us a slight advantage over how Ma attempted these plants in previous years.
One row of three mounds
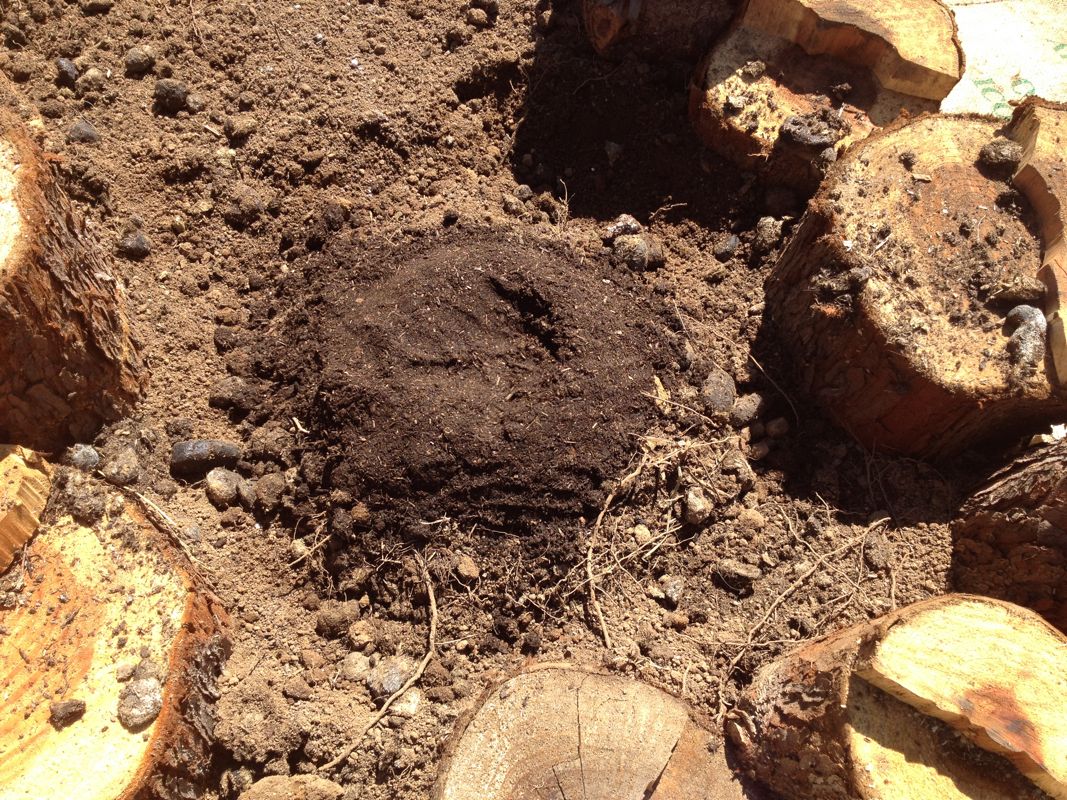
One mound by itself
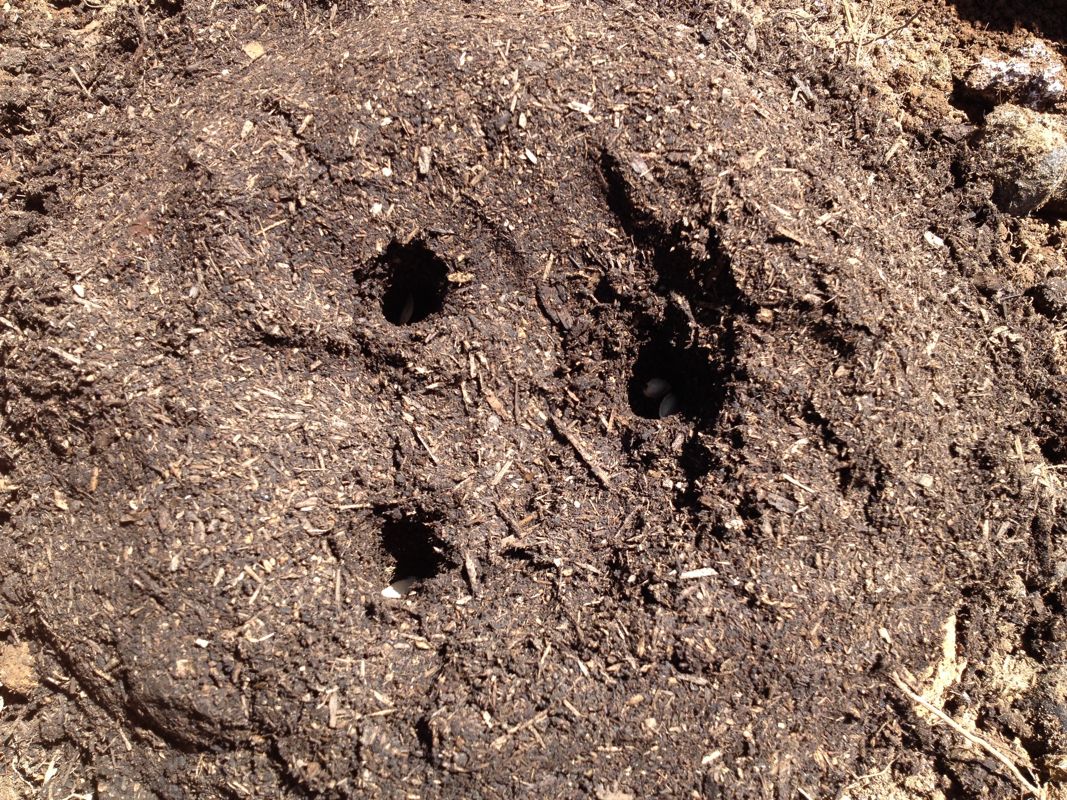
Holes for seeds (squash like to go in about 1″ deep)
I planted three mounds each of delicata and butternut squash, two mounds of acorn squash, and one mound of pumpkin. I’m not sure how well these will do, or if they will produce very much. The main reason for this is that the mounds are considerably closer together than the seed packets advise––not always a guarantor of failure, but sometimes the plants can’t get enough nutrients to fully flourish. To mitigate this problem, I will probably thin the mounds to just one plant when it becomes clear which of the three sprouts is the most robust. If I can’t get decent production, next year I will plant fewer mounds that are farther apart. I have no previous experience with squash and pumpkin, so this year will be experimental. It’s unclear exactly how long I can expect these beds to last, and how well the redwood rounds will be able to keep the soil in and gophers out. For now, I’m pleased that they look better than a pile of dirt, and can’t wait to see squash tendrils making their way into the beds and sprawling out over the redwood. I’m also happy to have a spot to show off Ma’s Mother’s Day present, a long-stemmed yellow rosebush.
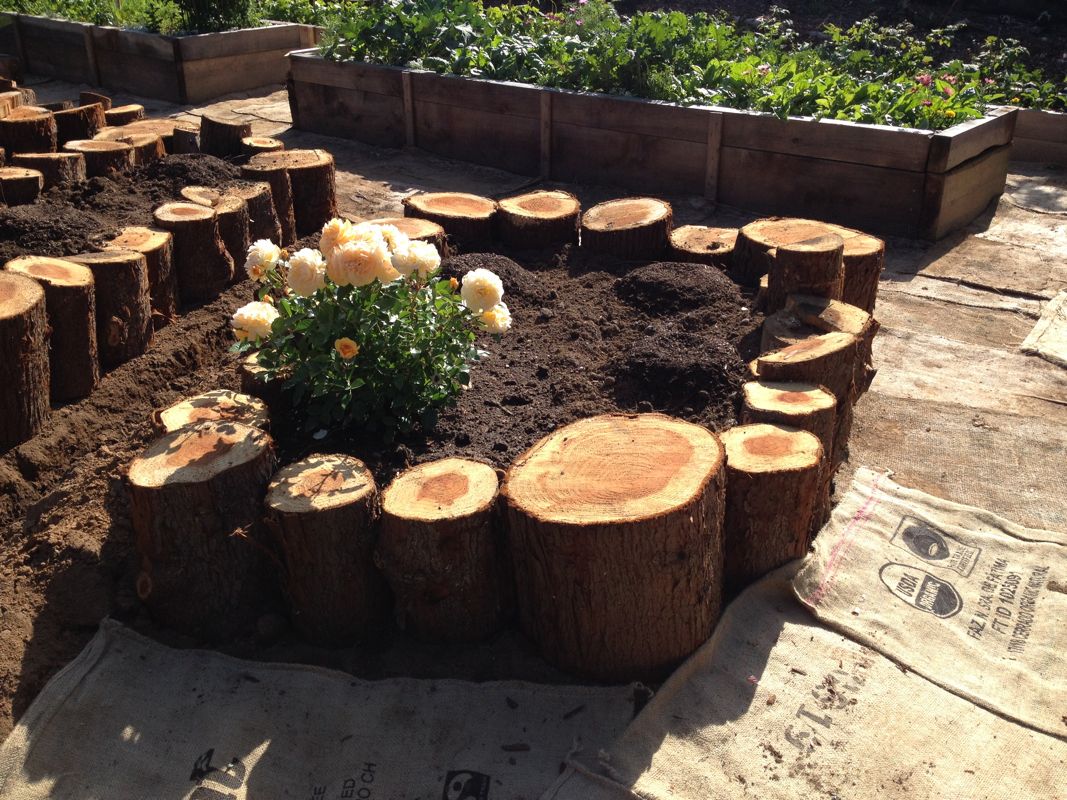
The east corner of this bed will display the rose nicely to anyone entering the garden
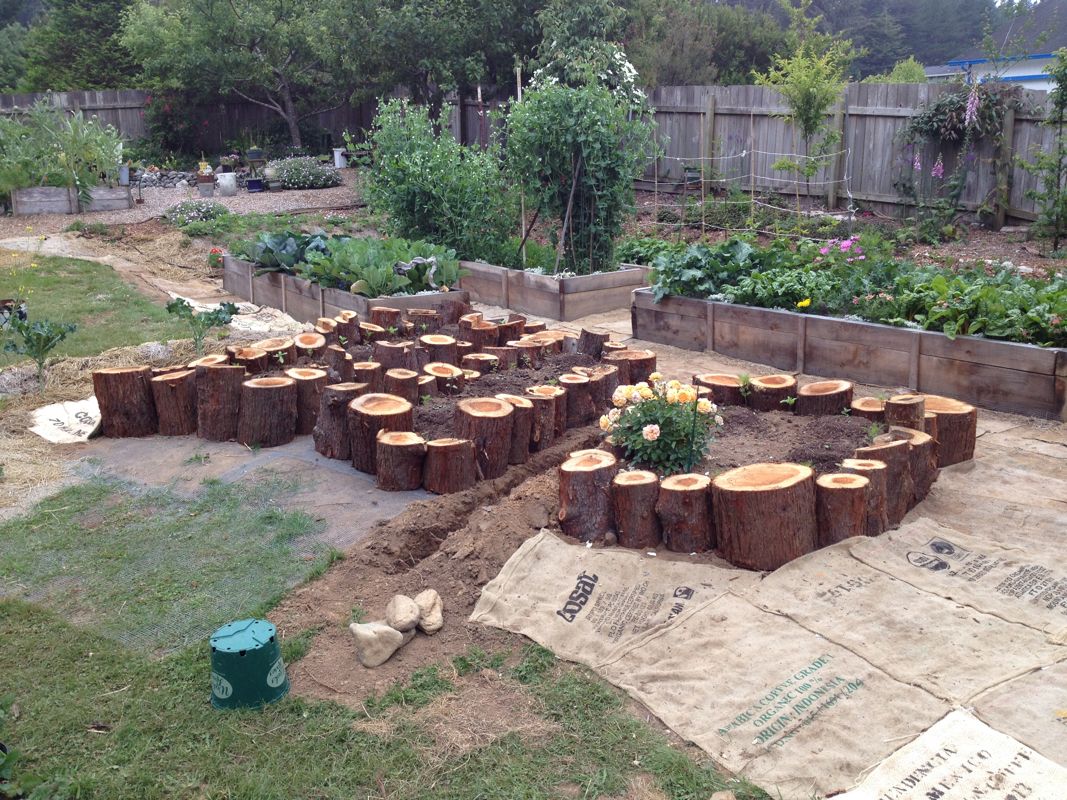
All three beds, filled and planted