Journal #43: Second Spring
by Miles Raymer
As mentioned in previous journals, I spent January-March building with Dan, Sean, and Matt. I thought I’d share a picture of the project we completed in March. We built this deck for two lovely women in Jacoby Creek.

New redwood deck
This project had special meaning for me. Our clients are getting married this month, and their ceremony and following festivities will be held on the deck. In light of the arduous and ongoing struggle to make marriage a reality for same-sex couples all across the nation, I felt honored to play a small role in giving a couple in my community a solid surface on which to officially celebrate their life together.
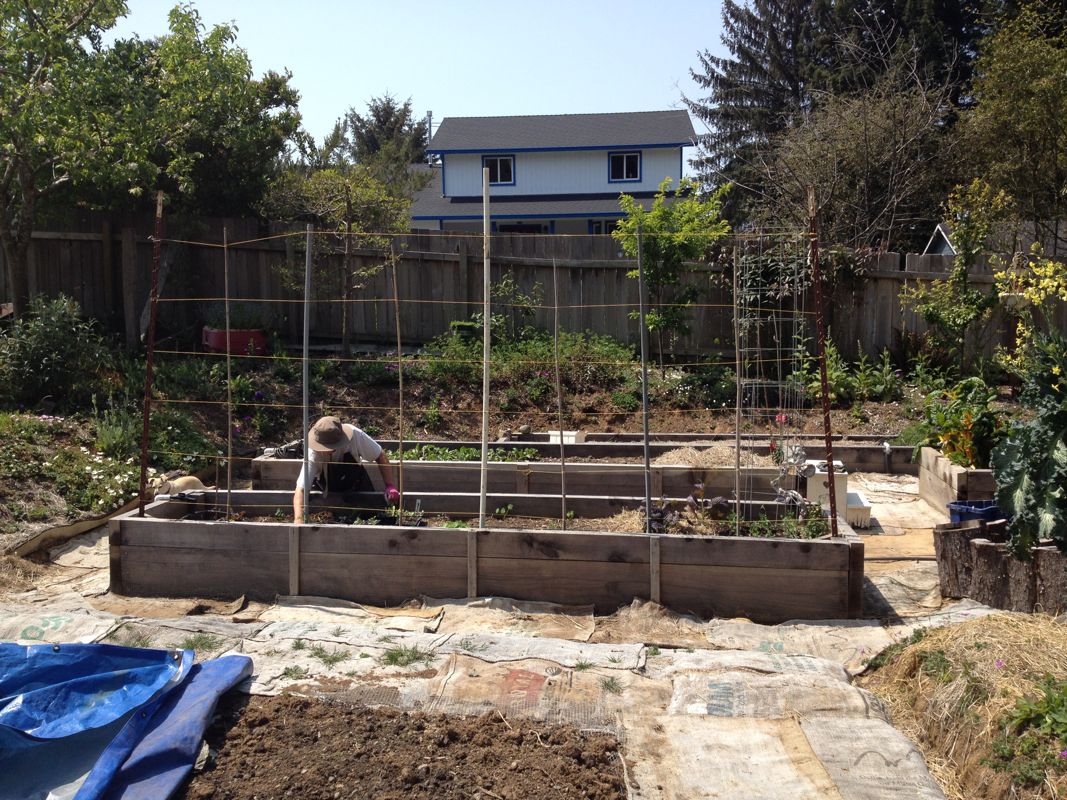
Since march, I’ve refocused my efforts on developing our home garden. We put off a lot of projects during the 9 months I spent building, so it’s been great to suddenly have the time to bang some of them out. My first job was digging and wiring two new beds for dry farming. Last year, Ma and I didn’t have much luck with our squash. Ma planted a lot of flowers in the same beds as our squash, which needed to be watered a couple times a week. We suspect this resulted in over-watering for the squash; the plants seemed healthy, but their production was paltry.
This year, we’re taking the advice of Linda, our friend and master gardener, to try dry farming. Linda has had success in recent years dry farming her squash. Ma did some reading online, and apparently dry farming is generally an option in places that get 20+ inches of annual rainfall. A typical year in our microclimate will get about double that amount, so we are hoping that dry farming our squash will produce a better turnout than last year.
Ma actually got started on this project months ago; she covered a section of lawn with tarps and cardboard in order to kill the grass. When I got in there, I dug down about 4-6 inches, creating a shallow indentation in which to lay down hardware cloth (gopher wire).

New dry farming beds
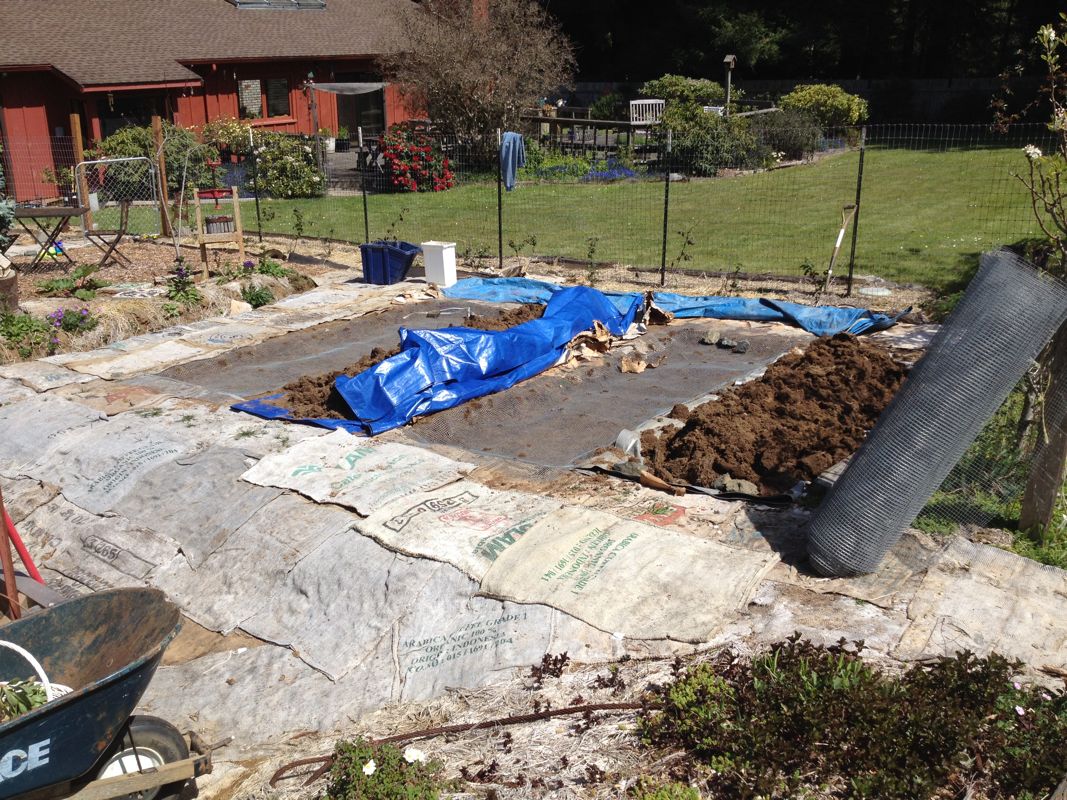
Both beds wired
Once I got the wire set and pinned down, I refilled the beds with a combination of the soil I’d dug out and composted horse manure. I mounded the beds so they are about 3-4 inches taller than the surrounding paths. I’m really pleased with how much open space there is around the beds, which will give the squash lots of room to spread out. Seeds go in in June!
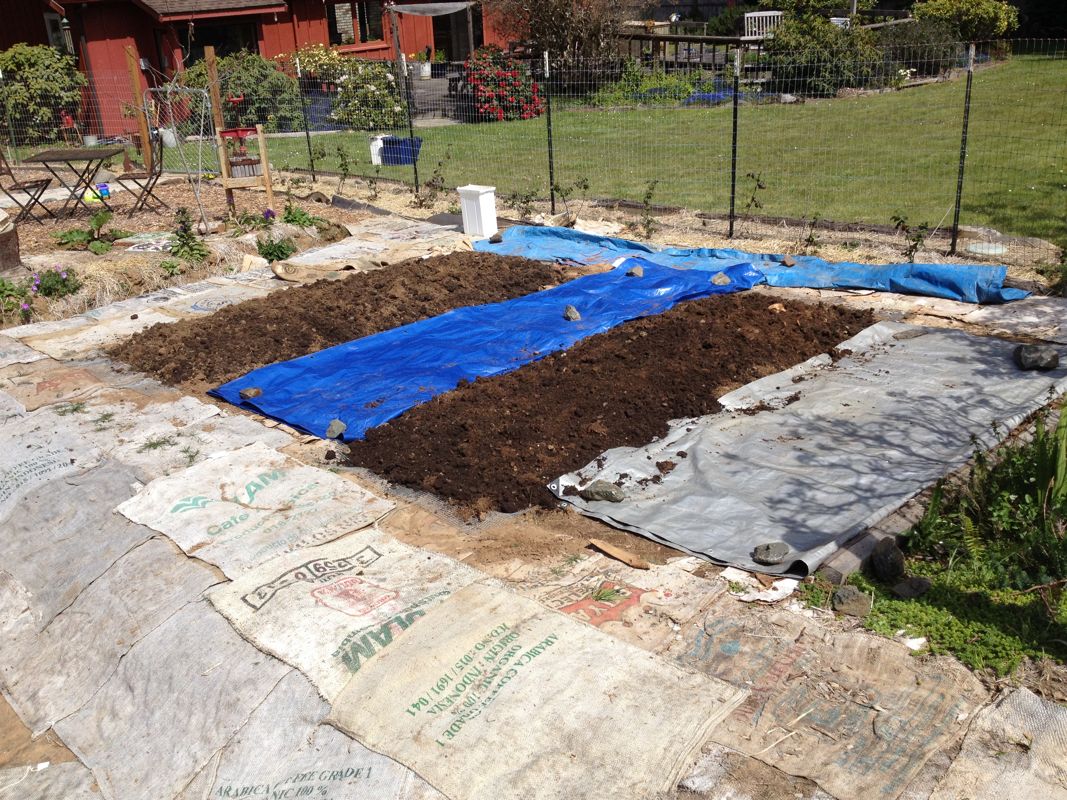
Ready to go
Another matter that demanded attention was the encroaching scotch broom in the field beyond our garden. Scotch broom is a very pretty––but also extremely invasive––shrub that is not native to the Pacific Northwest (it comes from Europe originally). If you don’t want scotch broom to totally dominate any open space where it starts propagating, you need to tear it out by the roots wherever you find it. Fortunately, the scotch broom’s beautiful yellow blossoms alerted me to the fact that, if untended, our field would soon be in trouble.
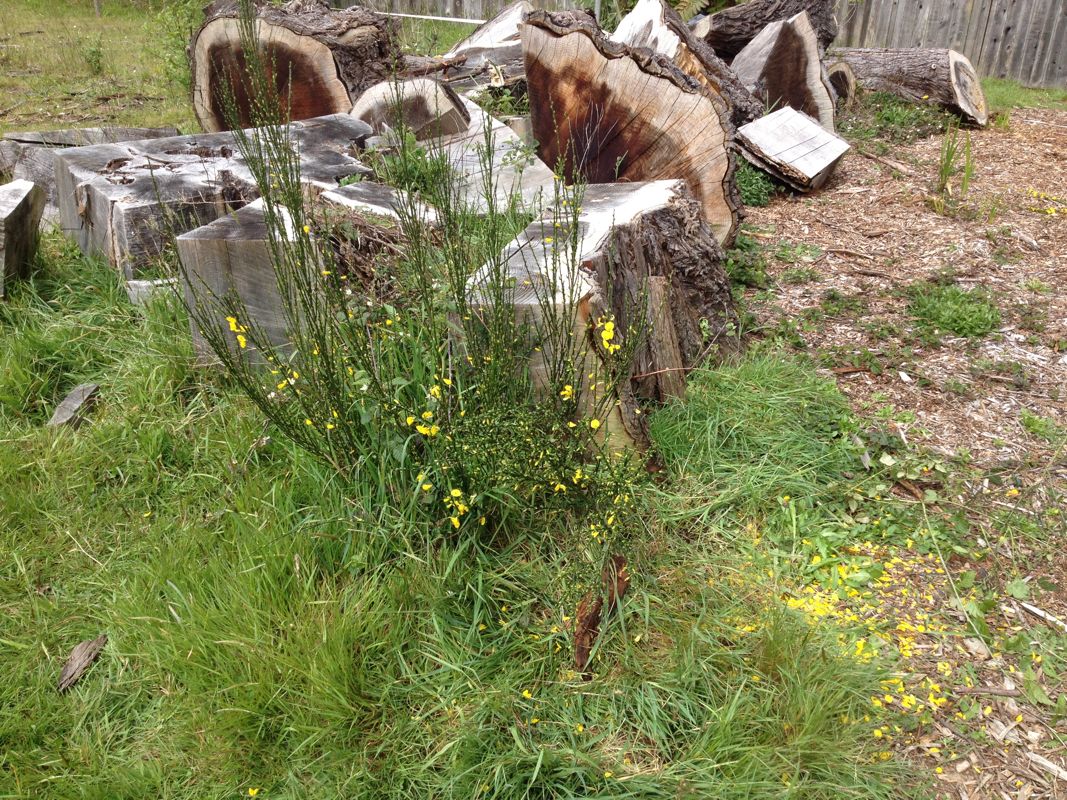
Scotch broom where it grows
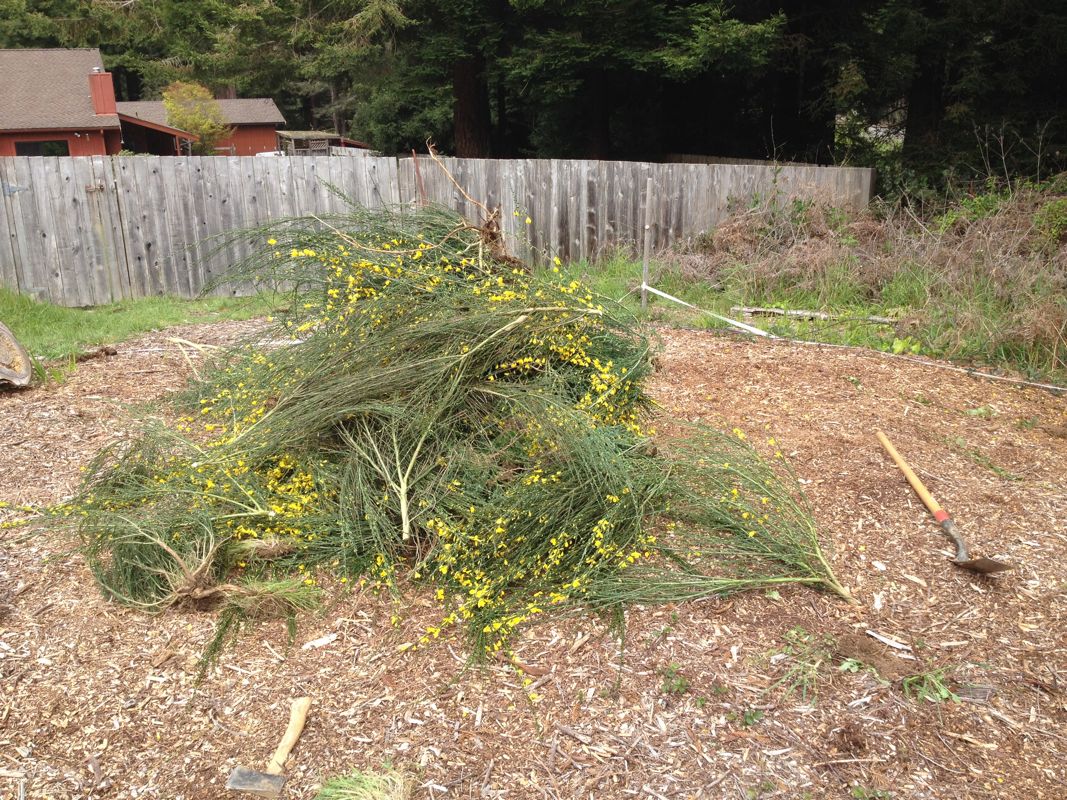
Scotch broom where it belongs
It was hard work tearing those buggers out of the ground, but hopefully it will buy us a year or two without having to worry about them again.
The most significant project I’ve tackled is setting up a new composting system inside the garden. We already do worm composting (I harvested five gallons of castings a couple months ago!) and have a compost tumbler for kitchen waste, but we want a bigger system where we can compost our garden waste. For the last couple years I’ve just been throwing everything in a huge pile under a tree in the yard, which hasn’t really resulted in usable compost (although a couple chard plants and volunteer potatoes have recently sprouted).
Composting garden waste is a process that some gardeners claim is very easy, but I have to admit that I’m not very good at grokking it. I’ve had lots of people explain their composting systems to me, and I have trouble finding common threads in all the different advice I’ve received. But Ma and I are determined to figure it out, which will just take a fair amount of trial and error. Additionally, I think we will get a composting thermometer, which will allow me to tell if the pile is getting hot enough to compost properly.
But first, we need bins! We were lucky to have some pallets, t-posts, fence wire, and plywood left over from building and other projects, so these bins didn’t cost us anything.
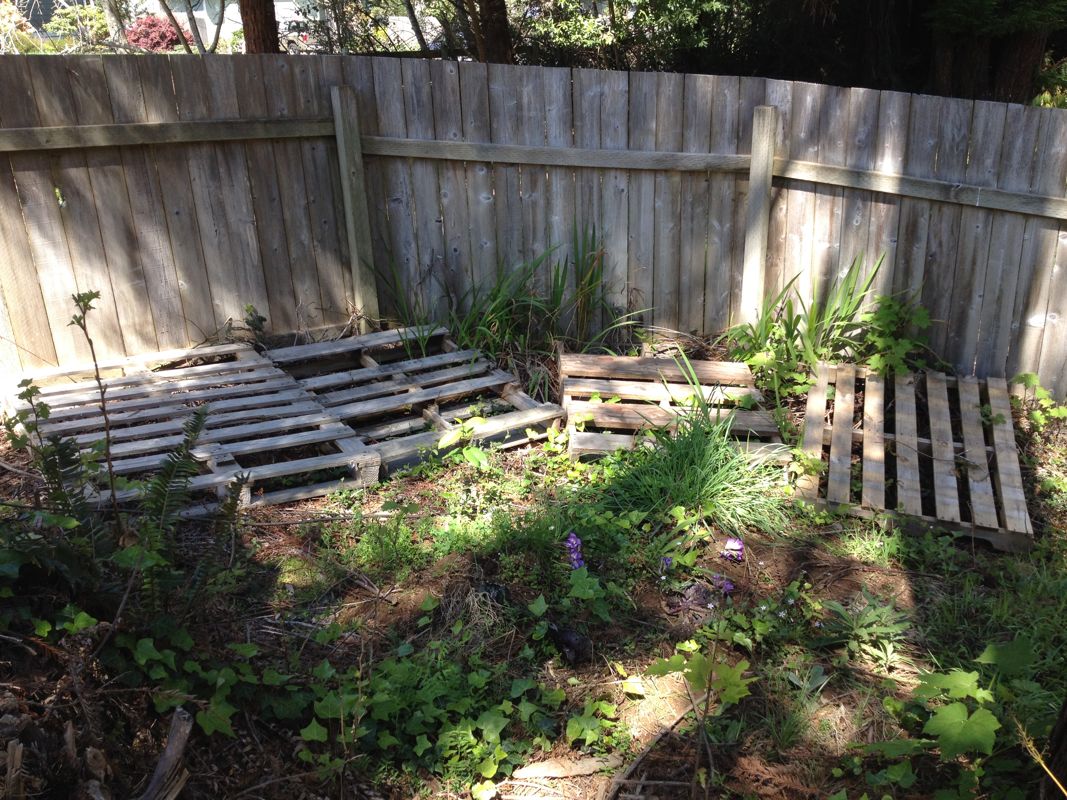
Pallets for bin bases
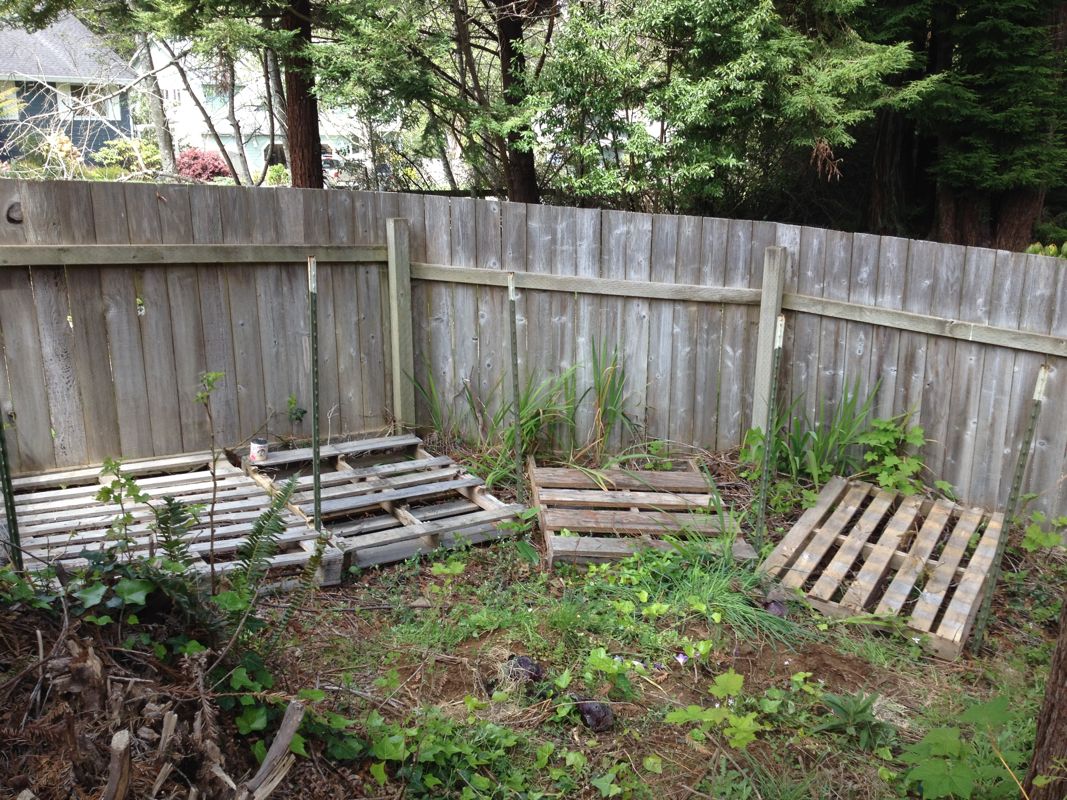
T-posts for bin walls
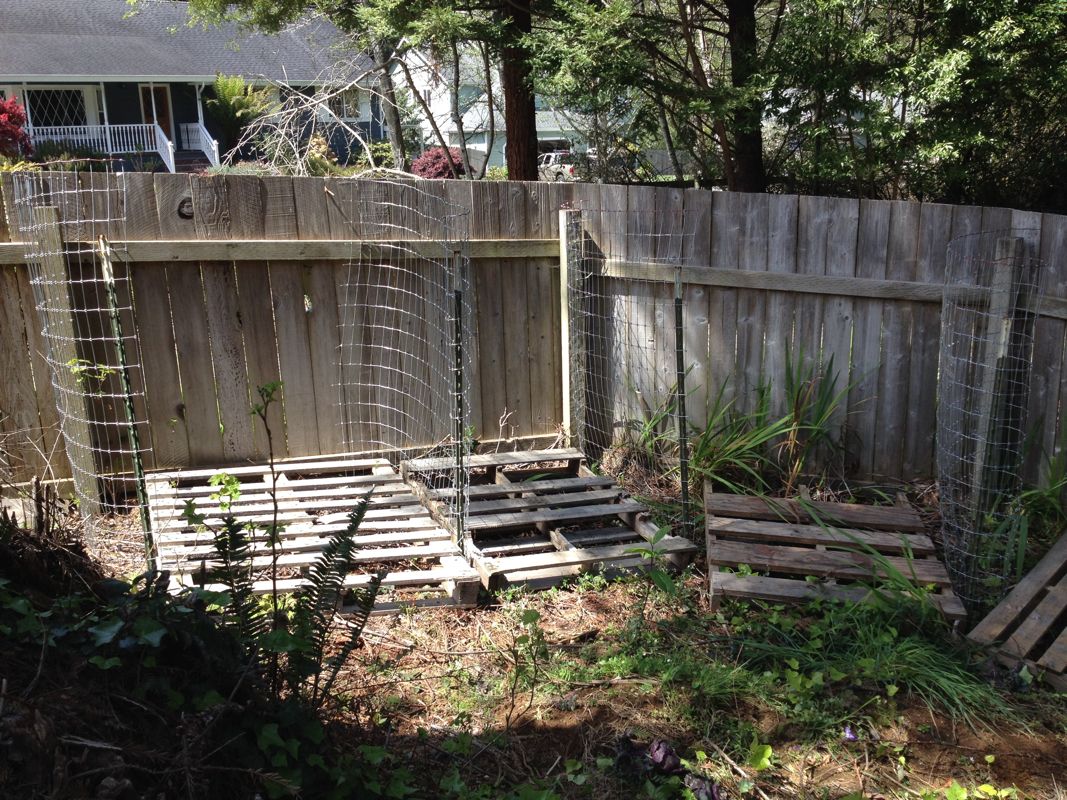
Wire attached to t-posts and fence (for stability)
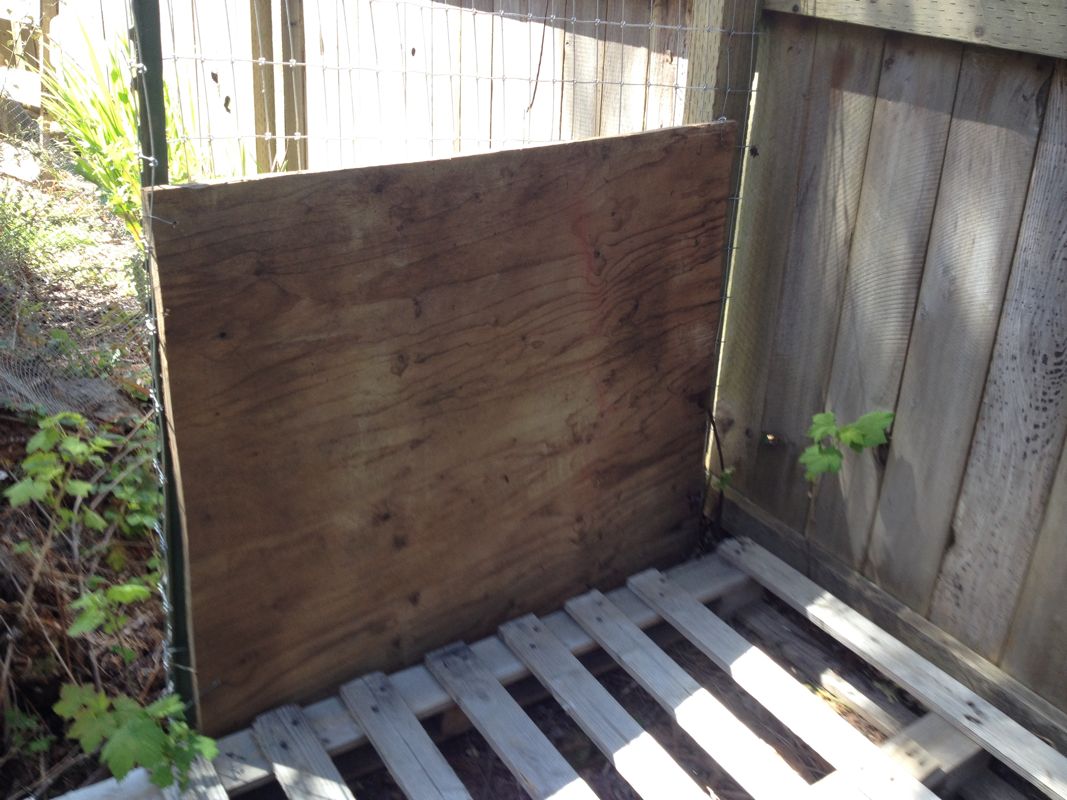
Plywood walls to keep content inside the bins
After cutting the pieces of plywood and setting them in place, I attached them to the wire fencing by drilling holes in the four corners of the wood. Then I threaded flexible wire through the holes and twisted it around the fencing.
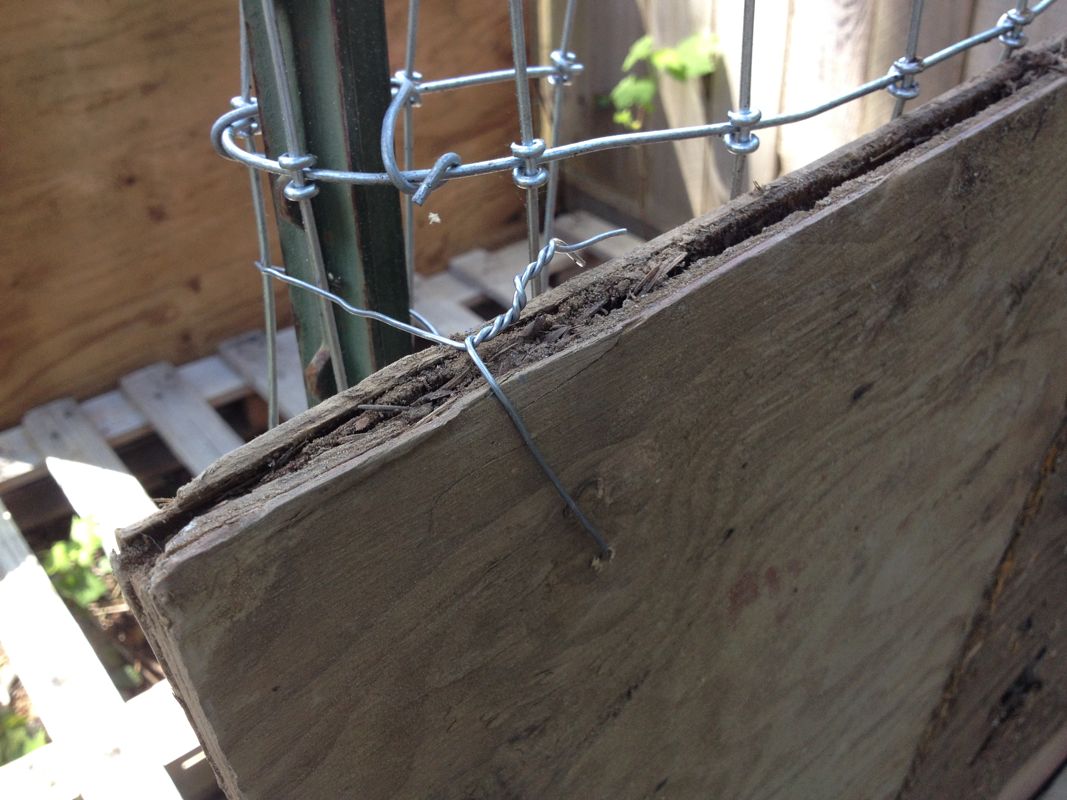
Plywood secured
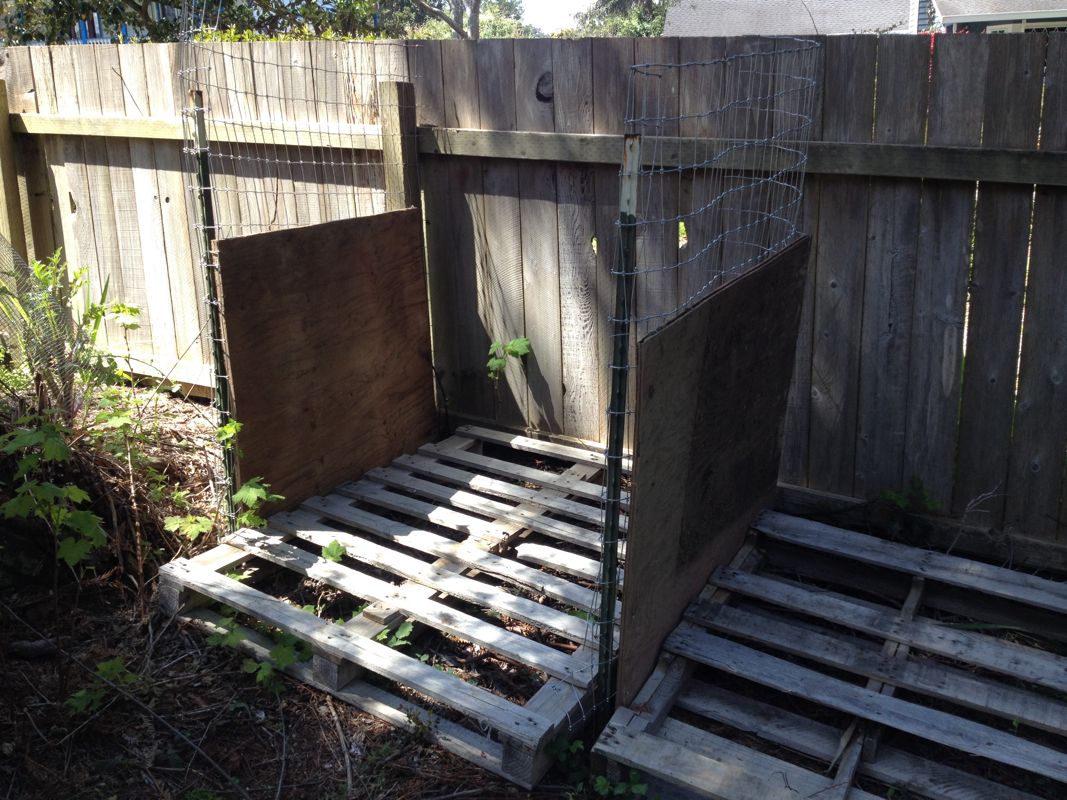
One bin complete
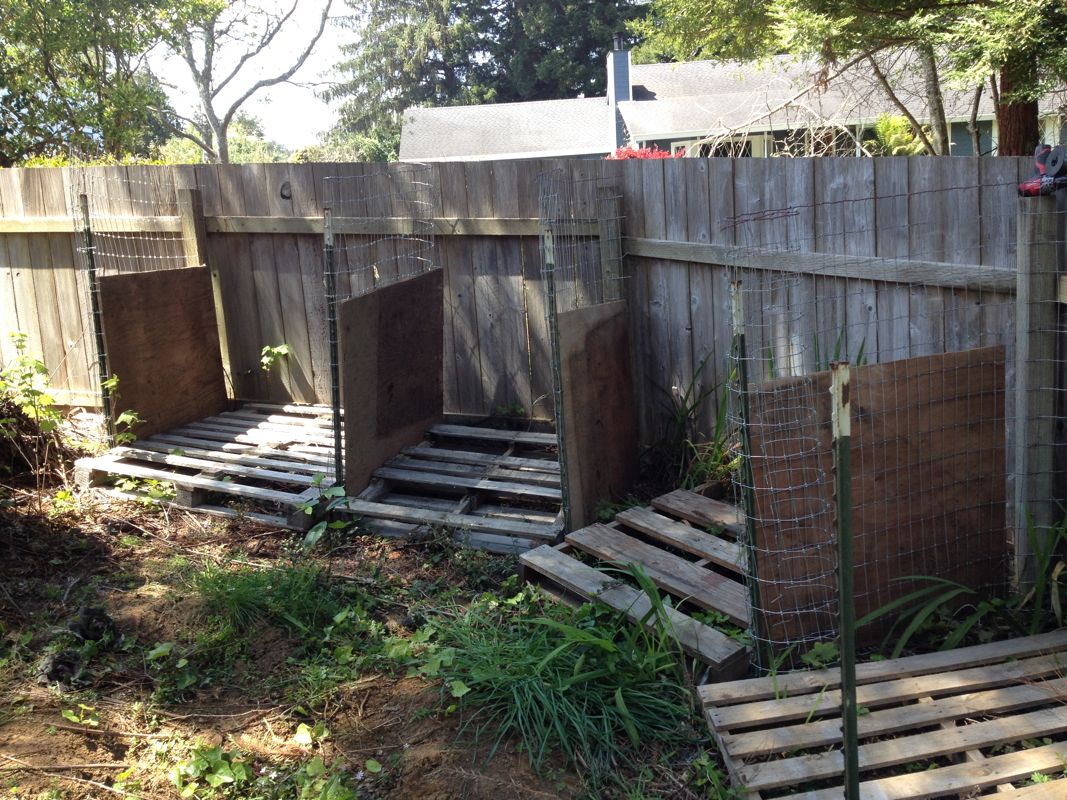
Three bins complete
For now, we are going to try a three-bin system (one for fresh material, one for partially composted material, and one for fully composted material).
This is our second spring with the new garden, and even though Ma and I are a bit behind compared to last year, we’ve finally got a good number of starts planted; hopefully we can start harvesting greens in 4-5 weeks. Thanks to Ma’s planning and our combined assessment of last year’s garden, we are focusing on planting more single-harvest items (beets, broccoli, cauliflower, radishes, potatoes) and fewer continual harvest items (lettuce, chard, kale). Last year we had an overabundance of salad greens, so we’re trying to reduce that output this year in favor of other crops. Ma made sure to rotate our crops from last year’s layout (i.e. not plant the same stuff in the same beds), which is important for soil health and pest management. We’re also attempting successive plantings so we don’t have to harvest the whole garden all at once.
I recently harvested the first round of radishes I planted earlier in the season, which make great additions to our salads.
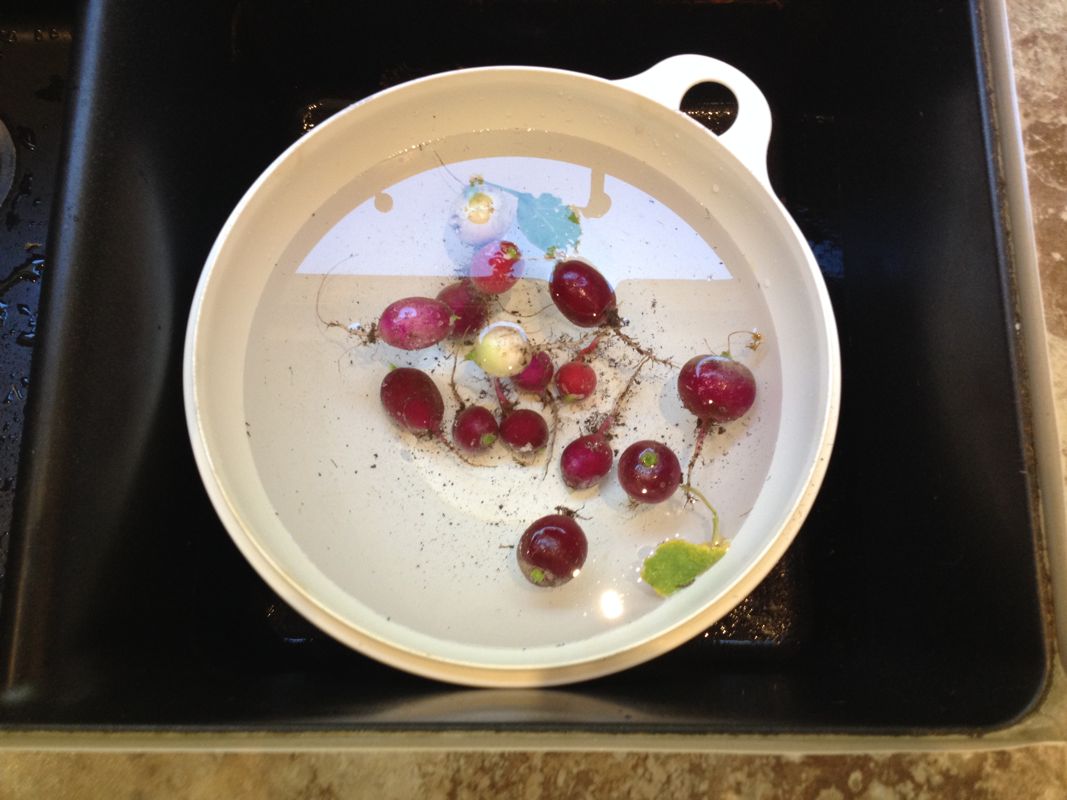
Tasty!
This week, we set up a new trellis for our peas, which we are hoping will work better than the netting we used last year. The netting worked okay, but it was hard to get it taut enough to hold the peas without sagging, and the plants kept falling off the trellis as they got taller. This year, we threaded tiers of string between posts, which will hopefully hold up better.
Stronger trellis
My favorite outdoor activity from the last few weeks was definitely chopping wood. I used to love chopping wood when I was young (mostly kindling, since I couldn’t swing an axe), so it has a nostalgic feel for me. I remember watching my father swing the axe, and wishing I was big enough to wield something bigger than my little hatchet. We’ve had a bunch of wood sitting under one of our trees for a few months now, which a neighbor generously bucked up for us after cutting down a tree that fell across our property line.
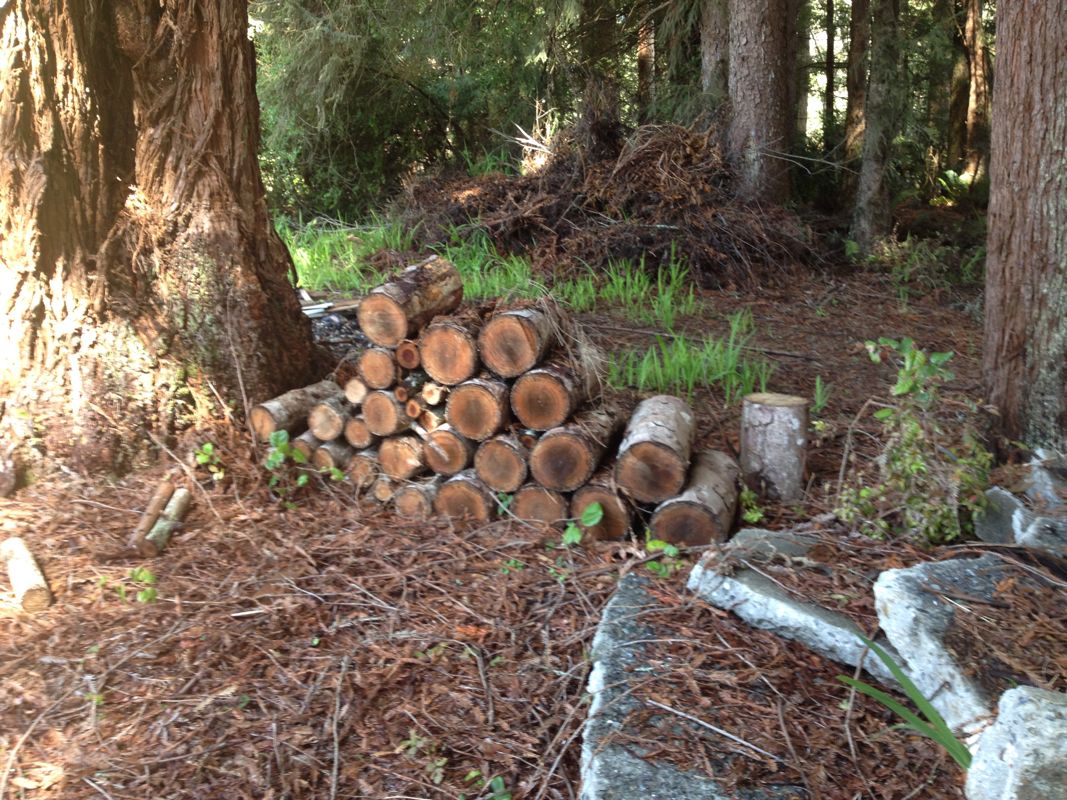
Wood rounds in need of splitting and storage so they can dry out properly
I went down to Ace Hardware and got myself a Fiskars axe, which is a beautiful black splitter with a lifetime guarantee from its Finnish crafters.
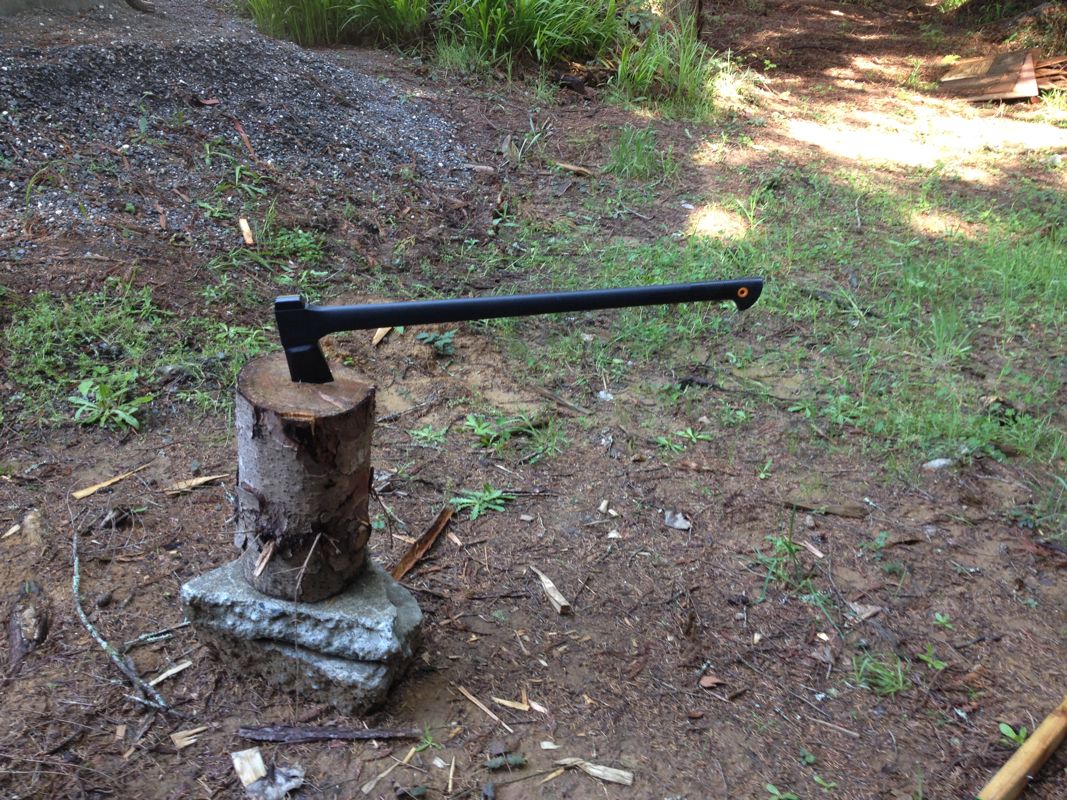
Fiskar axe
Getting started, I tried to recall all the safety tips my dad taught me way back when. I wore safety glasses, and always made sure to stand far enough away from the chopping block, so any missed stroke would hit the ground instead of curving back toward my body. I also recalled an excellent lesson about pick-swinging (a very similar motion to chopping) that I learned during my permaculture design course. The key is to lift the axe so the head is vertical in the air, and then move your lifting hand to join the off hand at the base of the grip. From that point, you are maximizing your head acceleration by using your wrists to rotate and guide the head––the weight of the head coming down creates most of the force. This is how to get reliably powerful swings without throwing your back out.
Like a lot of physical activities that require careful attention and focus, chopping wood can result in a kind of sublime trance. After my first hour of chopping, landing the head where I wanted became increasingly effortless, even if still requiring physical discipline. Achieving that gentle flow state––where elements of strength, precision, memory, and exhaustion reach a harmonious balance––was an unalloyed pleasure. I wouldn’t want to cut wood all day every day, but a couple hours here and there are meditative and fun.
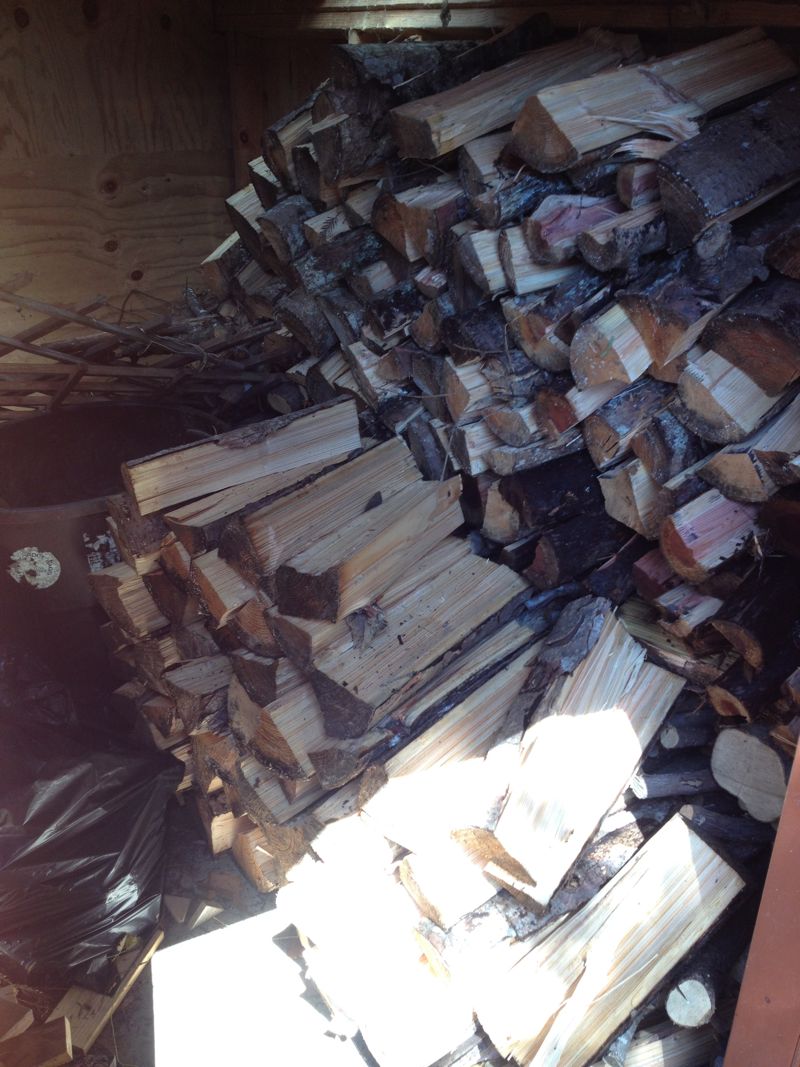
Wood stacked to dry